When working with students in Disability Services and when teaching students of all abilities, I commonly come across students who would benefit from better organization. It’s not uncommon for students to make it through high school without having to keep good track of notes, homework, reading materials, and more. It can be a bit of a shock, then, to enter college and have to keep everything organized for five different classes taught by professors who don’t see it as their job to help you keep it together. What’s a student to do?
I started using OneNote for all of my note taking and organizing about a year ago and I haven’t looked back. It’s one great place to store everything you might need and then access it on all of your devices. For me, this has meant organizing everything from meeting notes to receipts to web articles to recipes. OneNote will also be particularly helpful for students who need help with executive functioning or just want to get organized. Here are some of the most useful features of OneNote along with some of its limitations.
Take Notes
Yes, this is the most obvious and basic feature of OneNote. Type notes into the app and save them in different notebooks and tabs within each notebook. As you’ll see, though, you can do much more than just type notes onto each page.
Web Clipper
Did you come across a great article online for a research paper? Use the OneNote Clipper to quickly and easily save the article in your OneNote.
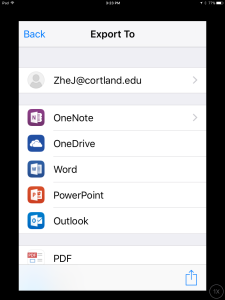
Save Electronic Documents
Do you need a better system to keep your electronic documents organized? You can save PDFs, Word files, spreadsheets, and more in OneNote. That means you can have a tab devoted to a class you’re taking and you can save everything there–syllabus, class notes, reading assignments, PowerPoint slides, etc.
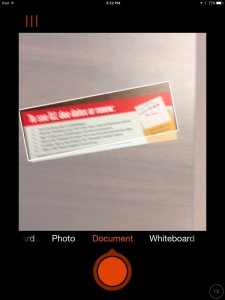
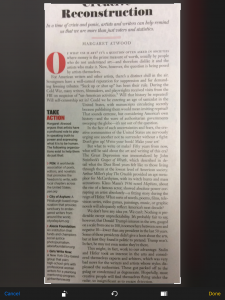
Photos of Documents
Have a paper document you’d like to save in OneNote so you can always find it wherever you are? Maybe you’d like to convert that paper document to a searchable PDF that you can also have read aloud to you in a text-to-speech app like Voice Dream. Office Lens can do both. An in-depth review of Office Lens will be coming in the future.
If you don’t want to mess around with another app like Office Lens, you can already take pictures of documents and save them in OneNote. OneNote will automatically run OCR on the document, which makes it searchable.
Audio and Video Recording
OneNote will record audio or video through your device’s microphone or camera and save it on a page in a notebook. Microsoft claims that you can type notes at the same time and sync those notes with the audio/video–a really handy tool for studying. On my iPad, though, I can’t do anything else while audio is recording. It seems the syncing feature is only available on Windows devices.
Math
This is a tool I haven’t used, but OneNote allows you to enter and solve some pretty complicated Math problems.
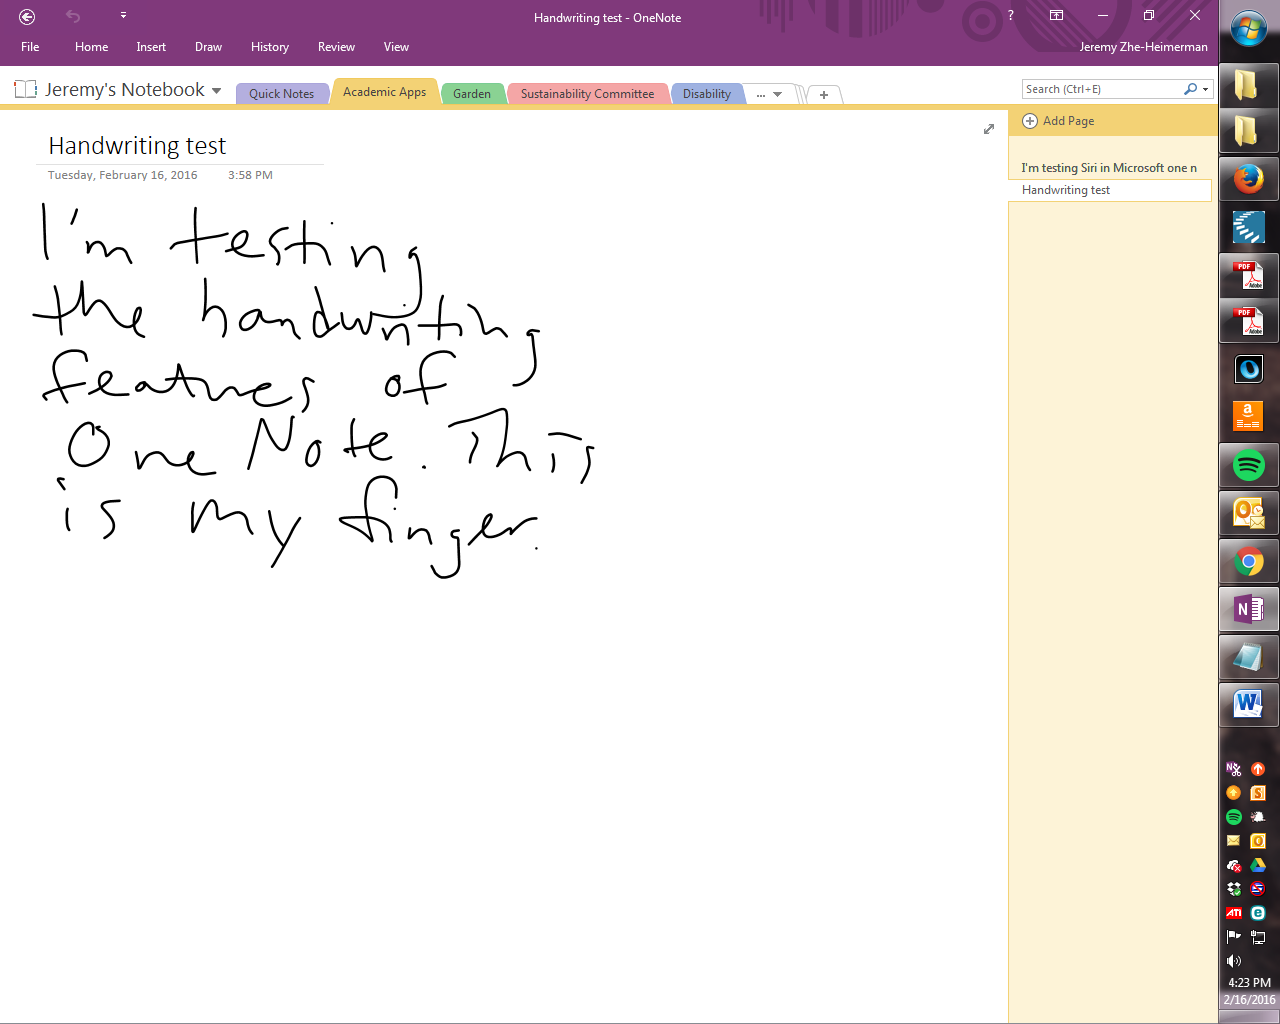
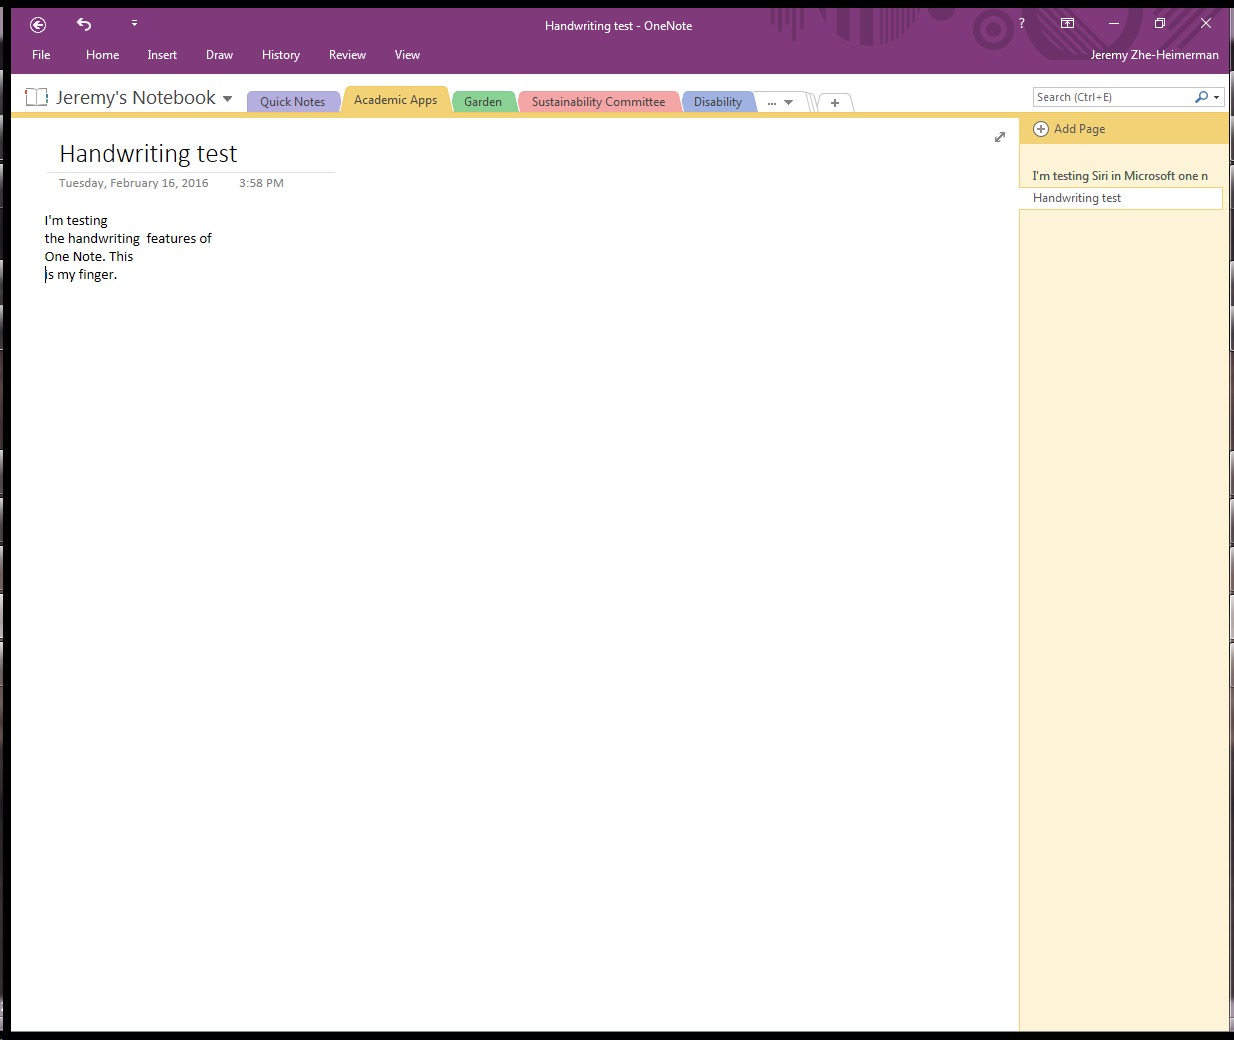
Handwriting
If you are using a touch-screen, you can write in OneNote with a finger or stylus. This could come in handy when taking notes in a class and needing to draw a diagram. You can even convert your handwriting to text if you want it cleaned up and searchable. I haven’t used this tool much, as I don’t have a stylus and find finger-writing clumsy. It also appears that the Lasso Select tool is not available on my iPad version, meaning I had to move to my PC to convert to text. But here’s a quick demonstration. I wrote this on my iPad:
 And then OneNote converted it to text perfectly:
Syncs Across Multiple Devices
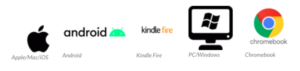
You can install OneNote on your phone, tablet, and computer–or access it on the web–and your notes will sync in real time. Free apps are available for Windows, Mac, iOS, Android, Amazon, and Chromebook. This can be handy for taking notes in class on a tablet and then accessing them later while studying on a laptop.
Shareable
Do you have a big group project coming up? You can share a notebook with everyone in your group. Everyone’s notes will be stored there so all can access at any time.
Searchable
While I keep my notebooks organized by tabs, as seen in the images above, all of your notebooks are searchable. So instead of navigating to a particular notebook and then a tab to find find a page, you can simply type a keyword into the search bar. I use this most often by searching for an ingredient that I want to use in a meal. OneNote will spit back at me all of the recipes I saved that have that ingredient in it.
This can be especially useful for studying. If you want to find all of your notes that mention a particular term or concept, OneNote will find them for you. Maybe it will even show you pages from a different class that will help you make connections you would otherwise have missed.
Free?
OneNote is free to install on your devices. The data in your notebooks is stored in Microsoft’s cloud storage product, OneDrive. SUNY Cortland students have 50 GB of storage through OneDrive, a pretty good sized amount to get you through your college career. If you have a personal Microsoft account, you currently may access 15 GB of storage free. Microsoft recently announced, though, that they are cutting that back to 5 GB, after which you may pay $2 a month for up to 50 GB or $10 a month for 1 TB and Office 365.
That means that OneNote is essentially free for SUNY Cortland students and others who are light users. My personal storage is getting to the point that I may have to think about a subscription down the road–just what Microsoft wants!
Summary
Those are just a few of the features in OneNote that may be most useful. The Google will find you all kinds of more complicated things you can do with it as you grow comfortable with the basic features.


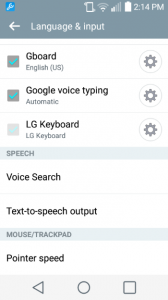
 Broadly speaking, there are two types of apps:
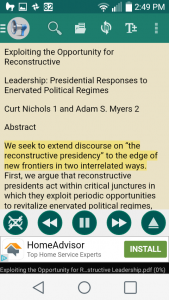
 A student recently introduced me to a text-to-speech app that he’s been using on his Android phone.
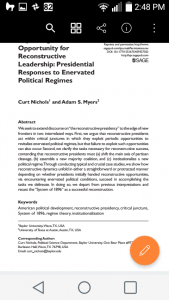
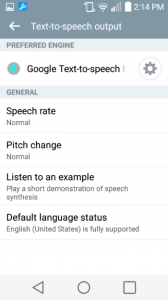
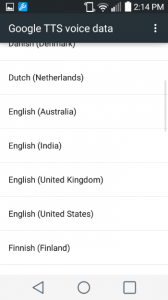
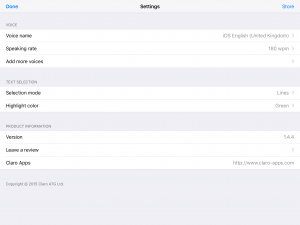
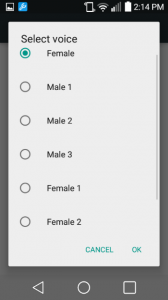 Choosing a new voice will take up memory on your phone, but you may find it worth it.
 Updated May 1, 2020 with new Immersive Reader feature.