NaturalReader has been one of our most popular free apps for students with dyslexia for years. Students with PCs have found it especially useful, as Windows does not have a user-friendly text-to-speech tool built into it like that found in Mac OSX. But in recent years, NaturalReader apps have become available for Mac, iOS, and Android as well.
This post will focus on the PC and iOS apps, as those are the ones that we’ve worked with the most. I’ve found that the Mac app has not been updated as regularly as the PC app and doesn’t work quite as well. And since OSX has its own text-to-speech capabilities built into it, there’s not as much of a need for it on that platform. We don’t have access to an Android device to test that app, but student reports indicate that it is similar to the iOS app in design, strengths, and weaknesses.
PC
NaturalReader for PC has two interfaces. One, the Floating Bar, hovers over whatever window is open on the screen. The other is a traditional app that opens up documents to be read aloud.
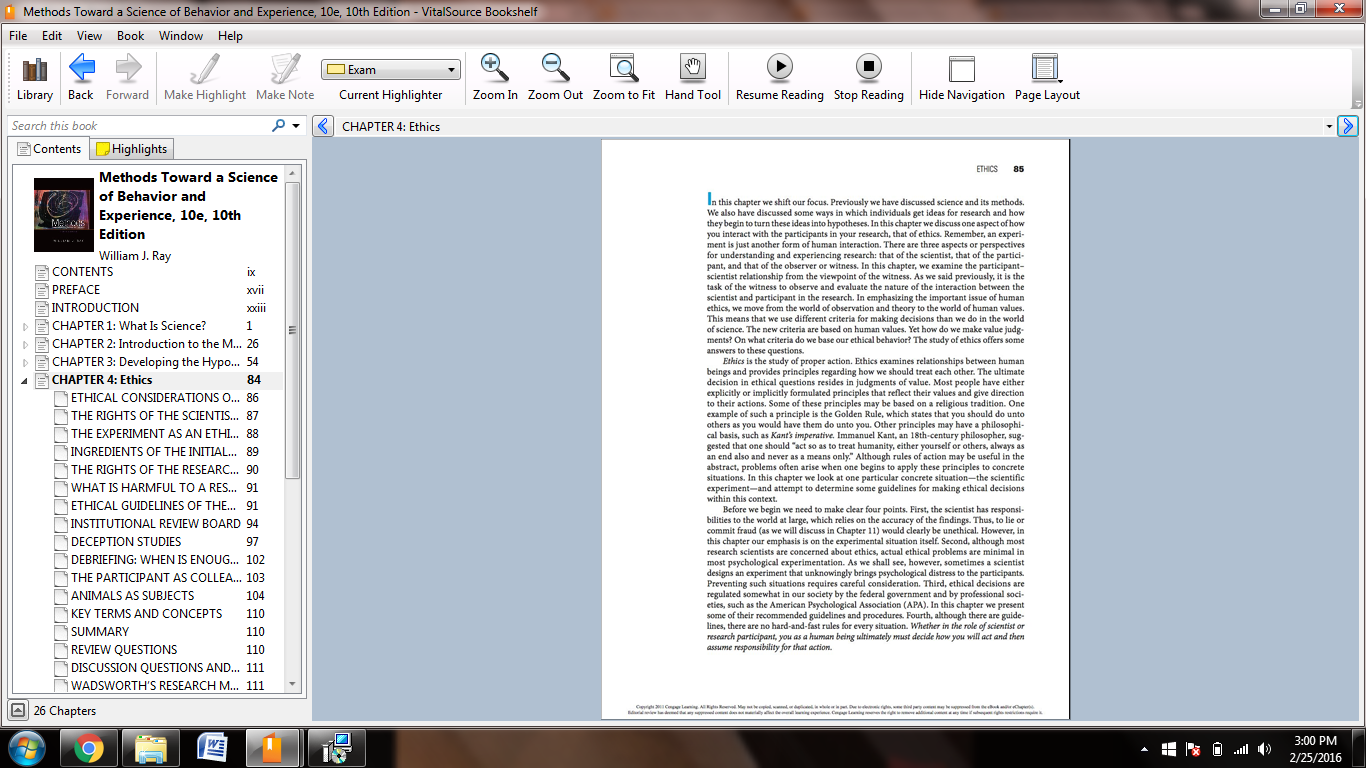
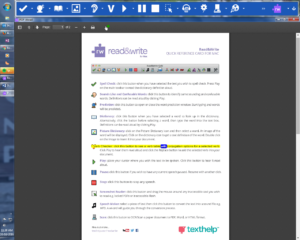
The traditional interface can open RTF, Text, PDF, Word, or ePub files. The files are displayed as text only, so all images are stripped out and much of the formatting is lost. Users may then click the play button to begin reading wherever they wish.
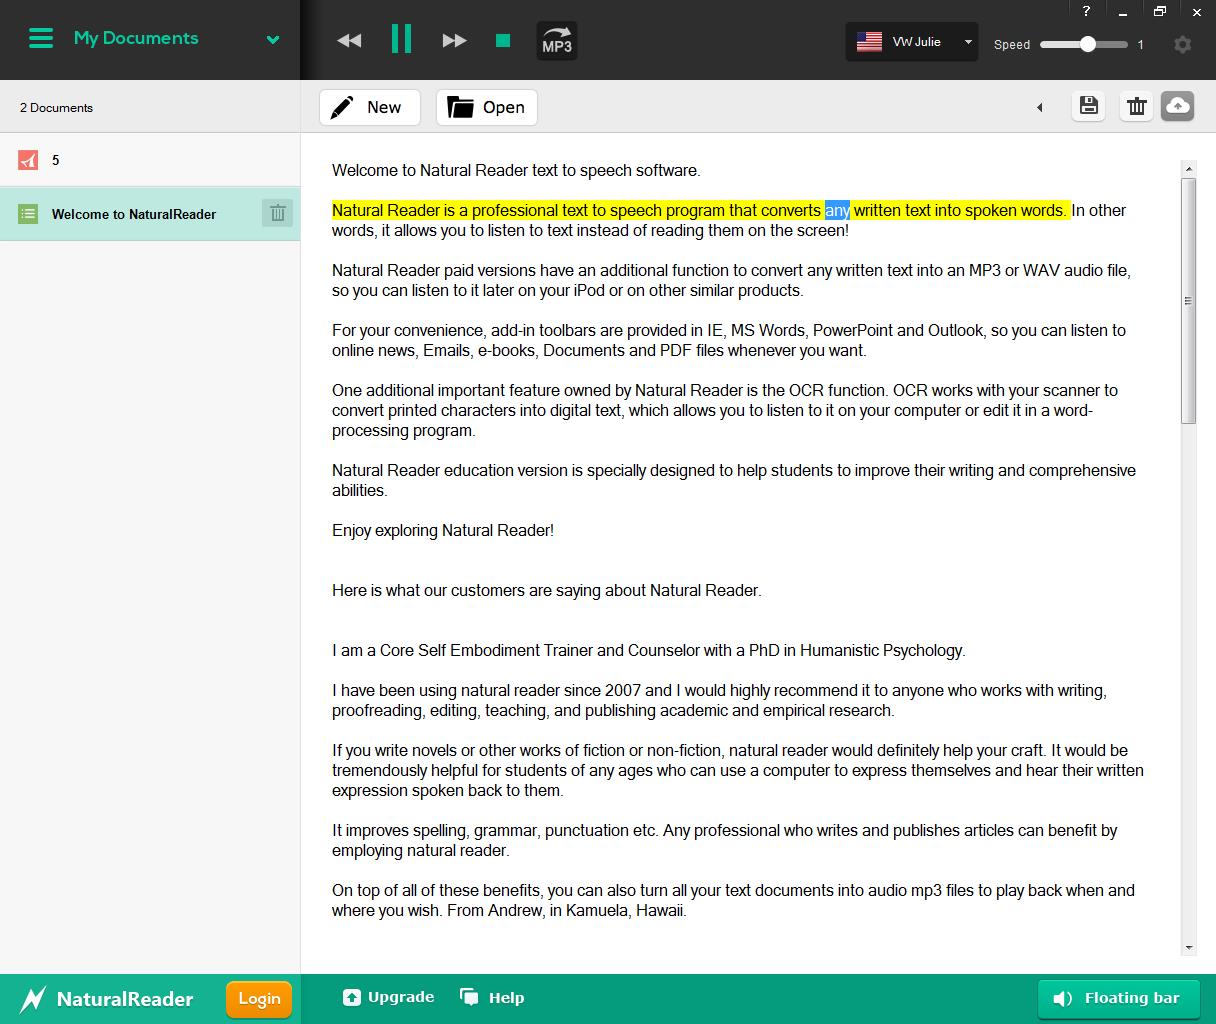
The free version picks up whatever voices are already on your computer. The user may easily adjust the speed without leaving the main interface. One may buy additional voices separately, or spring for one of the paid versions with other additional features.
As seen in the image above, the speech output syncs with highlighting on the screen.
When a user clicks on the “Floating Bar” button seen in the bottom right of the above image, the app shrinks down to a bar that hovers over whatever window is open on the screen.
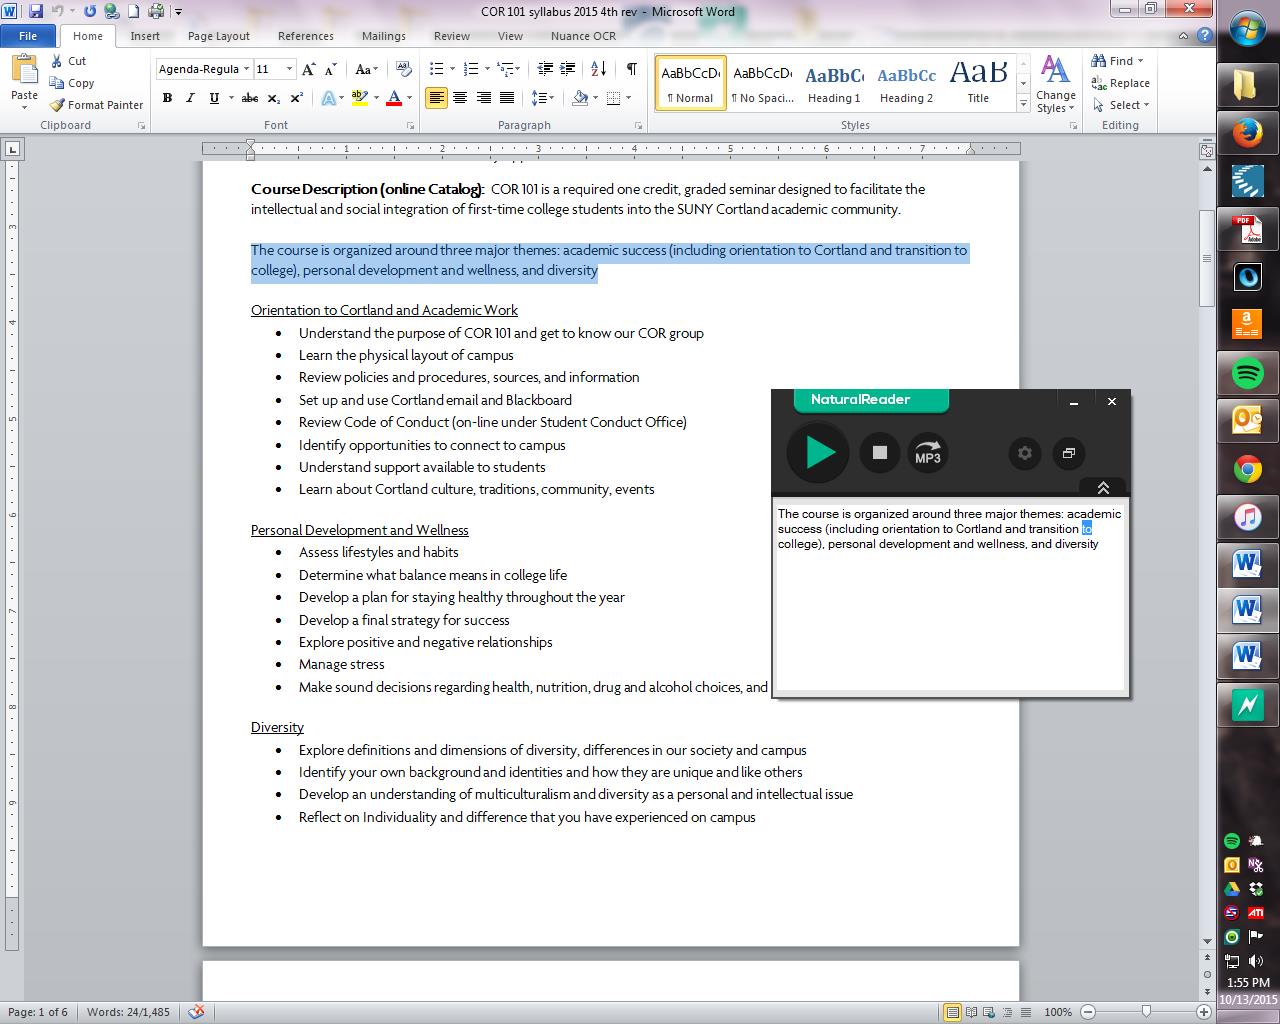
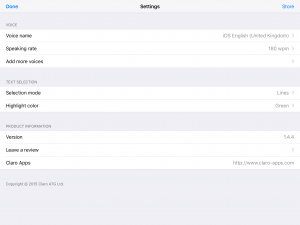
The user then must select text to be read aloud by dragging the cursor over it. When one clicks on the play button, NaturalReader will read the selected text aloud. There is no synchronized highlighting here unless the user clicks on the little arrows on the bottom right of the bar. That opens up a box that displays the selected text and highlights the words as they are being read aloud, as seen above. Clicking on the settings wheel allows the user to change the voice and the speed.
Students use NaturalReader differently based on personal preference. Some stick with the Floating Bar for all of their readings. It works for everything, whether a searchable PDF with lots of images, an HTML article, or a Word document. Others like the highlighting in the traditional interface and will open text-heavy documents there. When a document has lots of images, though, these students will typically rely on the floating bar so as not to lose all of the formatting that’s lost in the traditional interface.
iOS
NaturalReader for iOS currently is free for 100 minutes, at which point it becomes all but inoperable. If one wants to keep using it, NaturalReader Pro is $9.99 as of publication. Just make sure you don’t buy the old NaturalReader with the teal logo which, for some reason, is still available on the app store even though it is quite buggy.
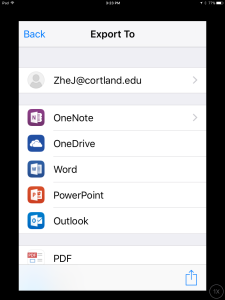
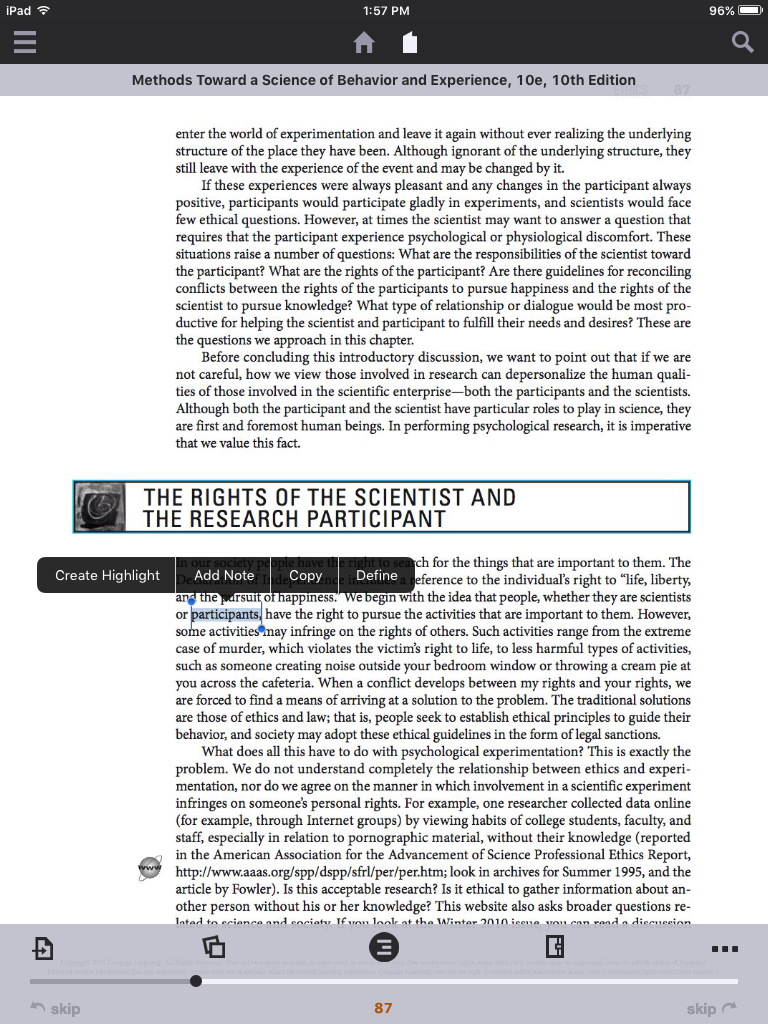
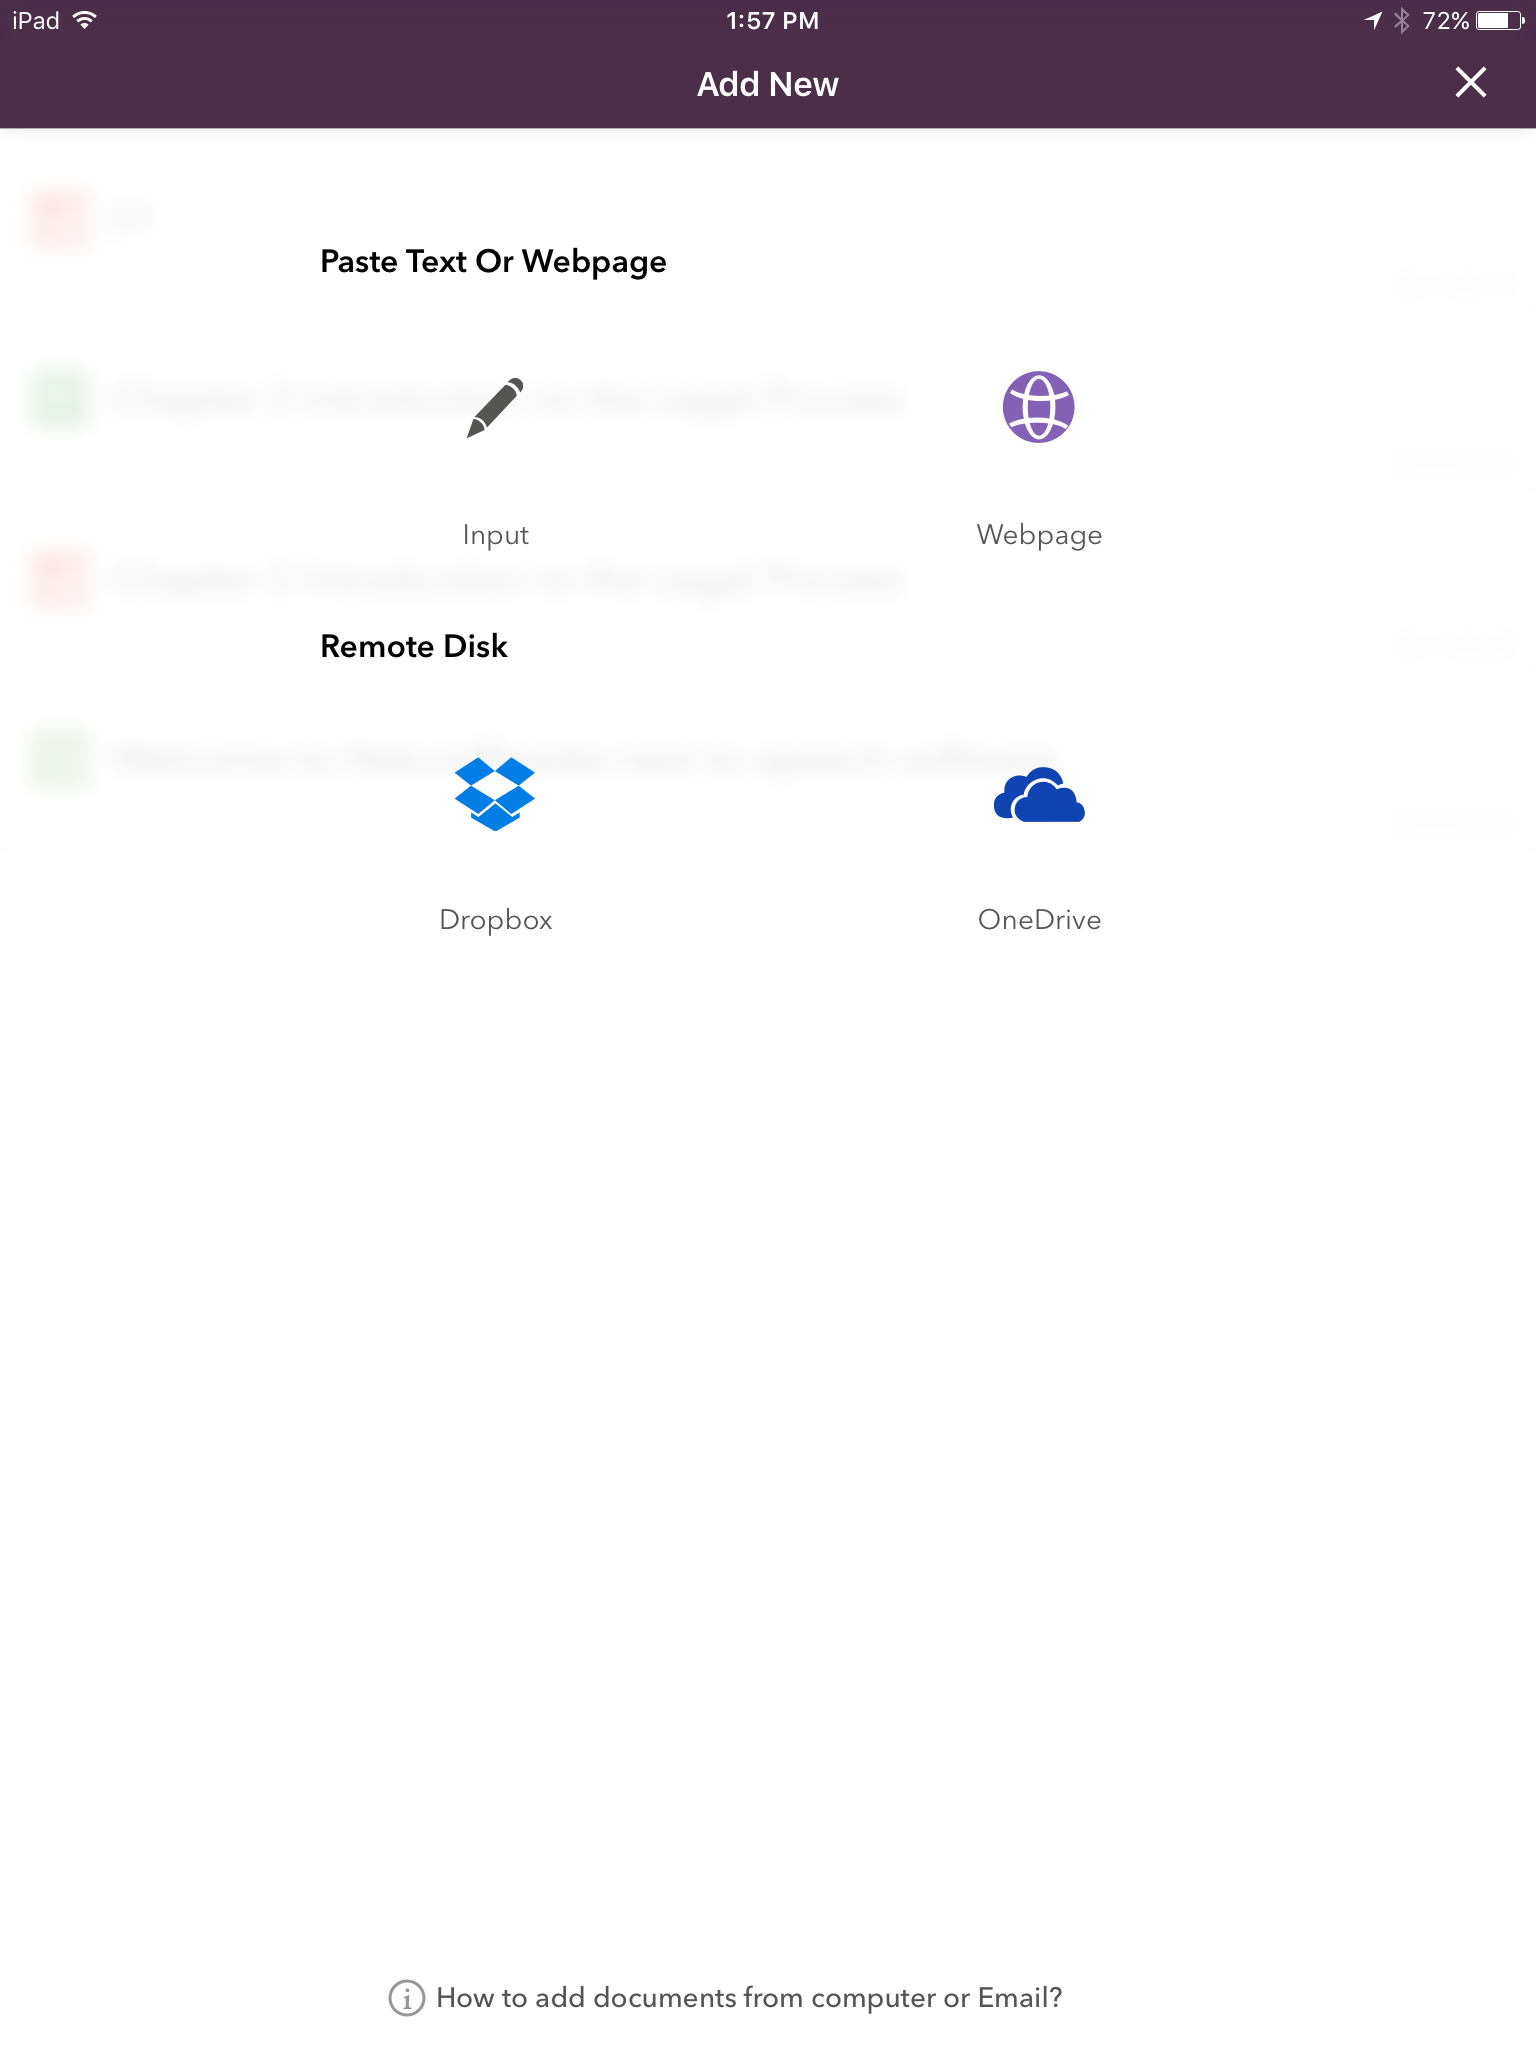
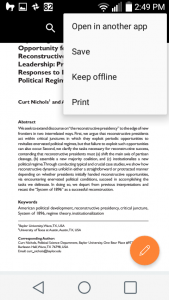
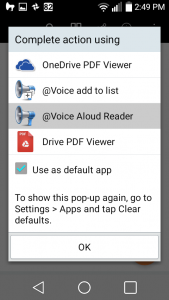
It’s relatively easy to open files in NaturalReader, as one may link a OneDrive or Dropbox account or open a webpage. If a file is open elsewhere on your device, a user may also tap the button to open it in another app, one of which will be NaturalReader.
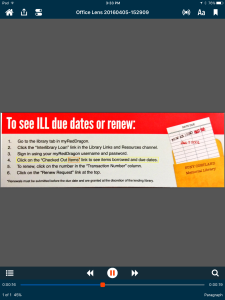
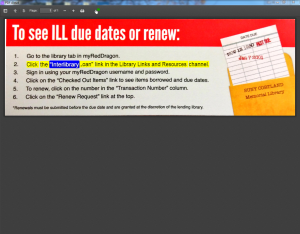
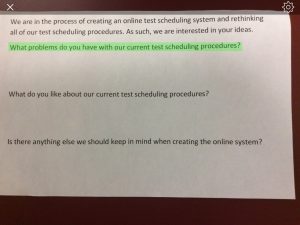
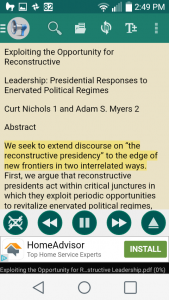
Files then display and are read aloud as the text changes color.
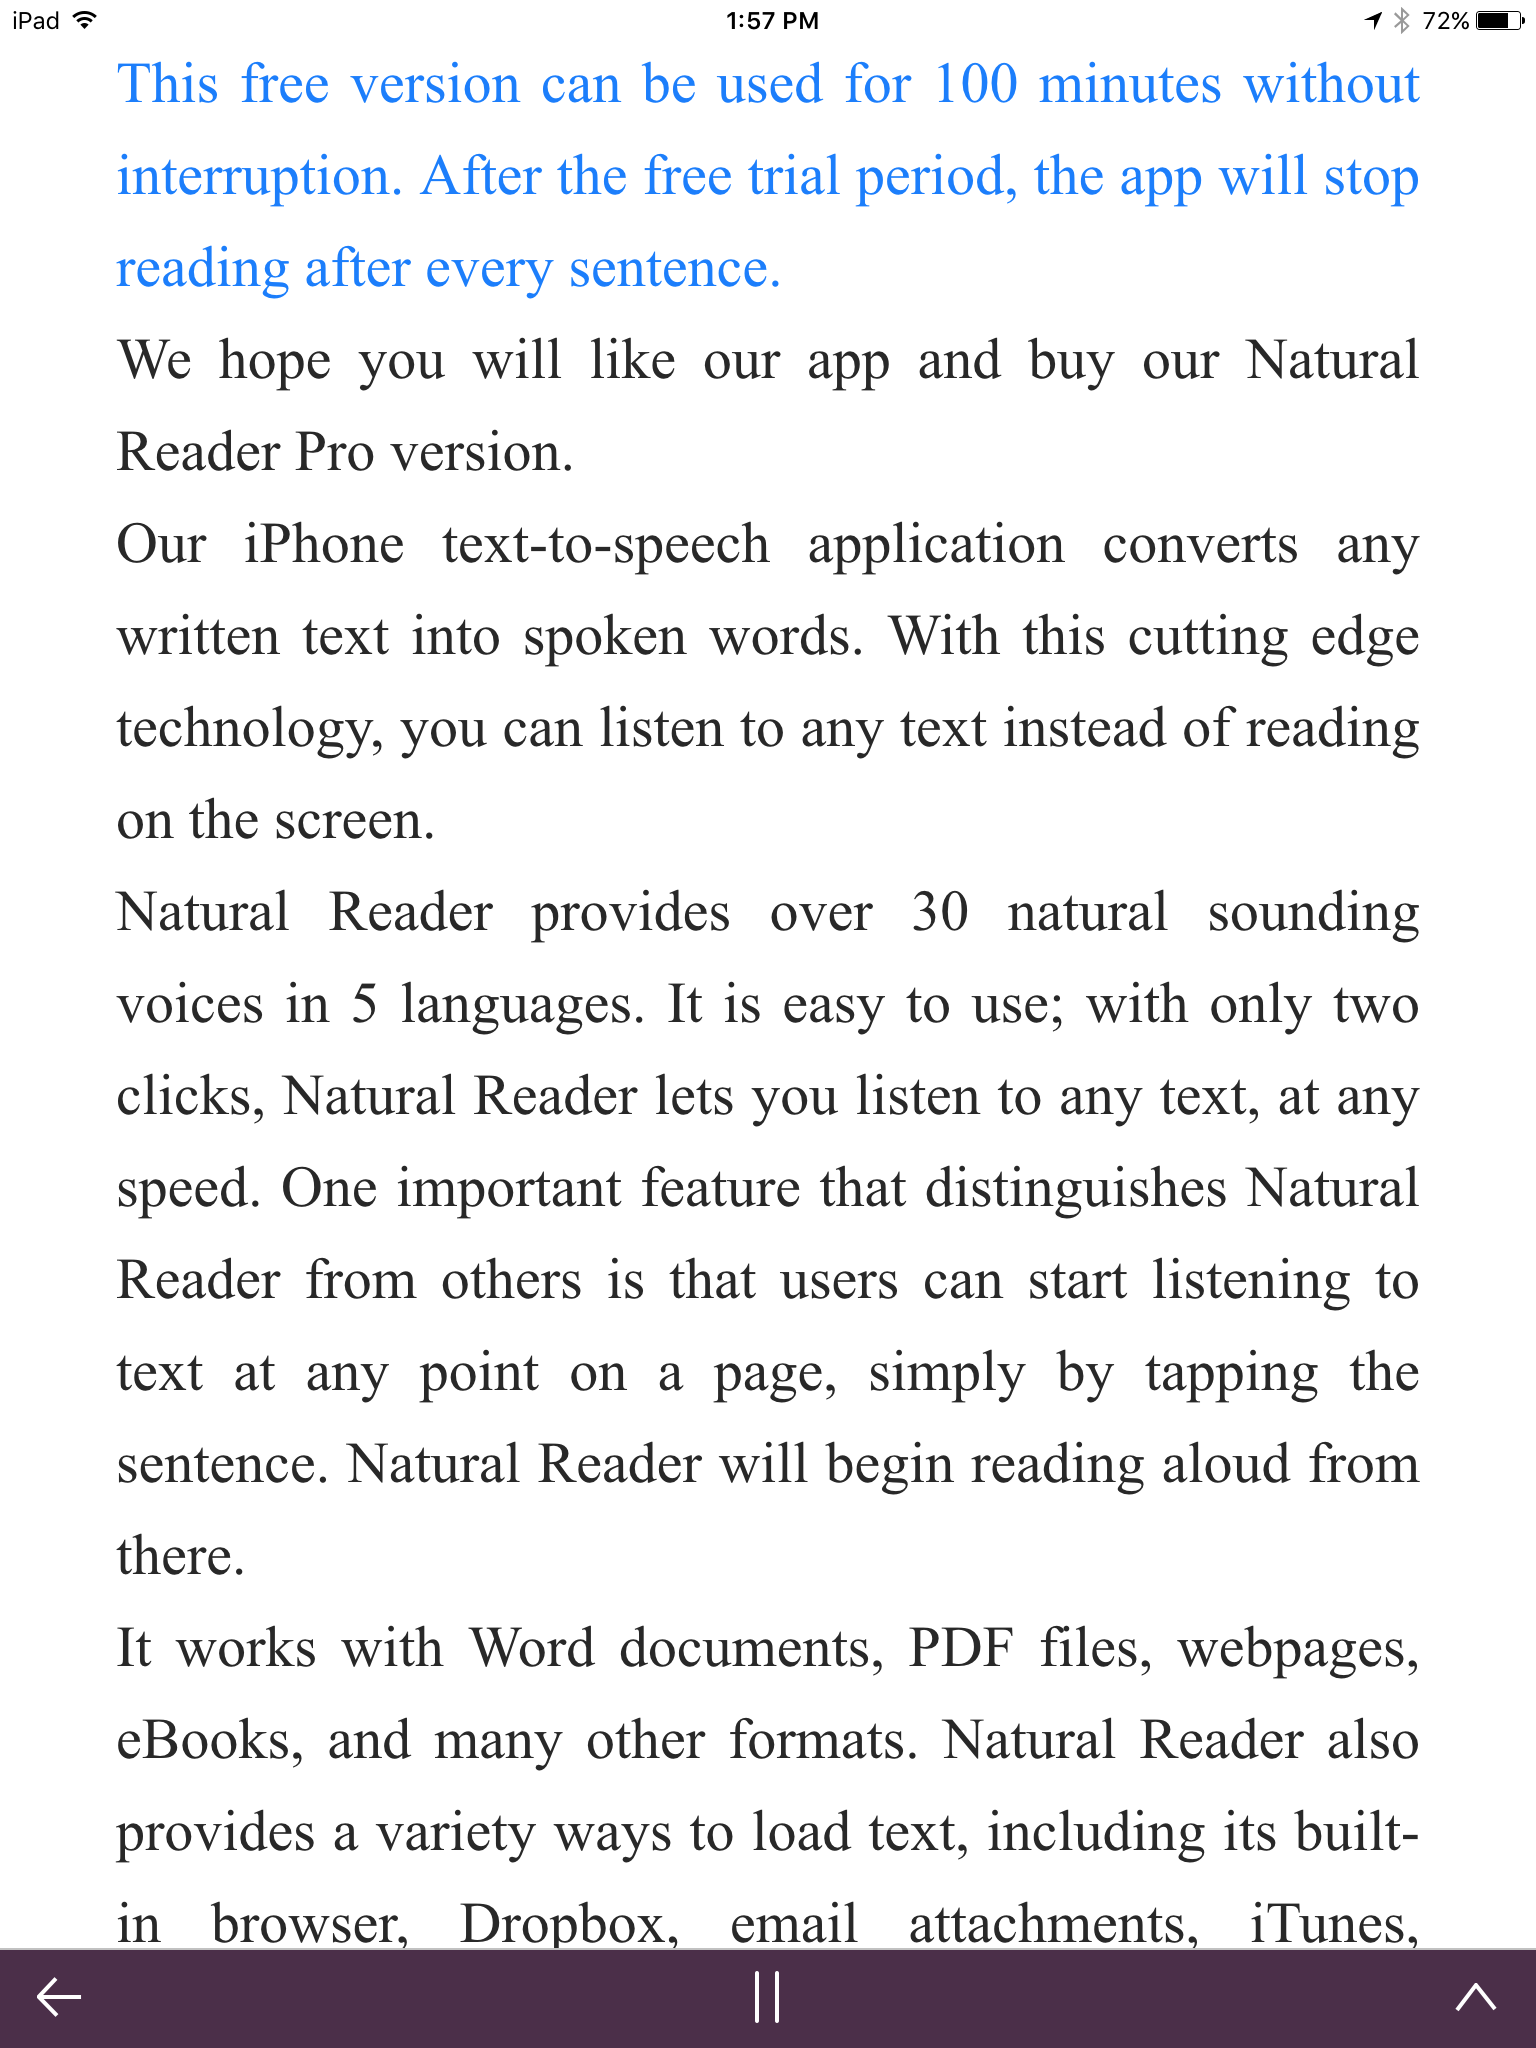
The below images demonstrate how a web page article can be found in NaturalReader and converted to text for reading aloud.

After tapping on the “Listen Now” button, the article is converted to text as such:

There are three major shortcomings to this app that make me unable to recommend it over our favorite mobile text-to-speech app, Voice Dream Reader, which also costs $9.99 and is now available in Android in addition to iOS.
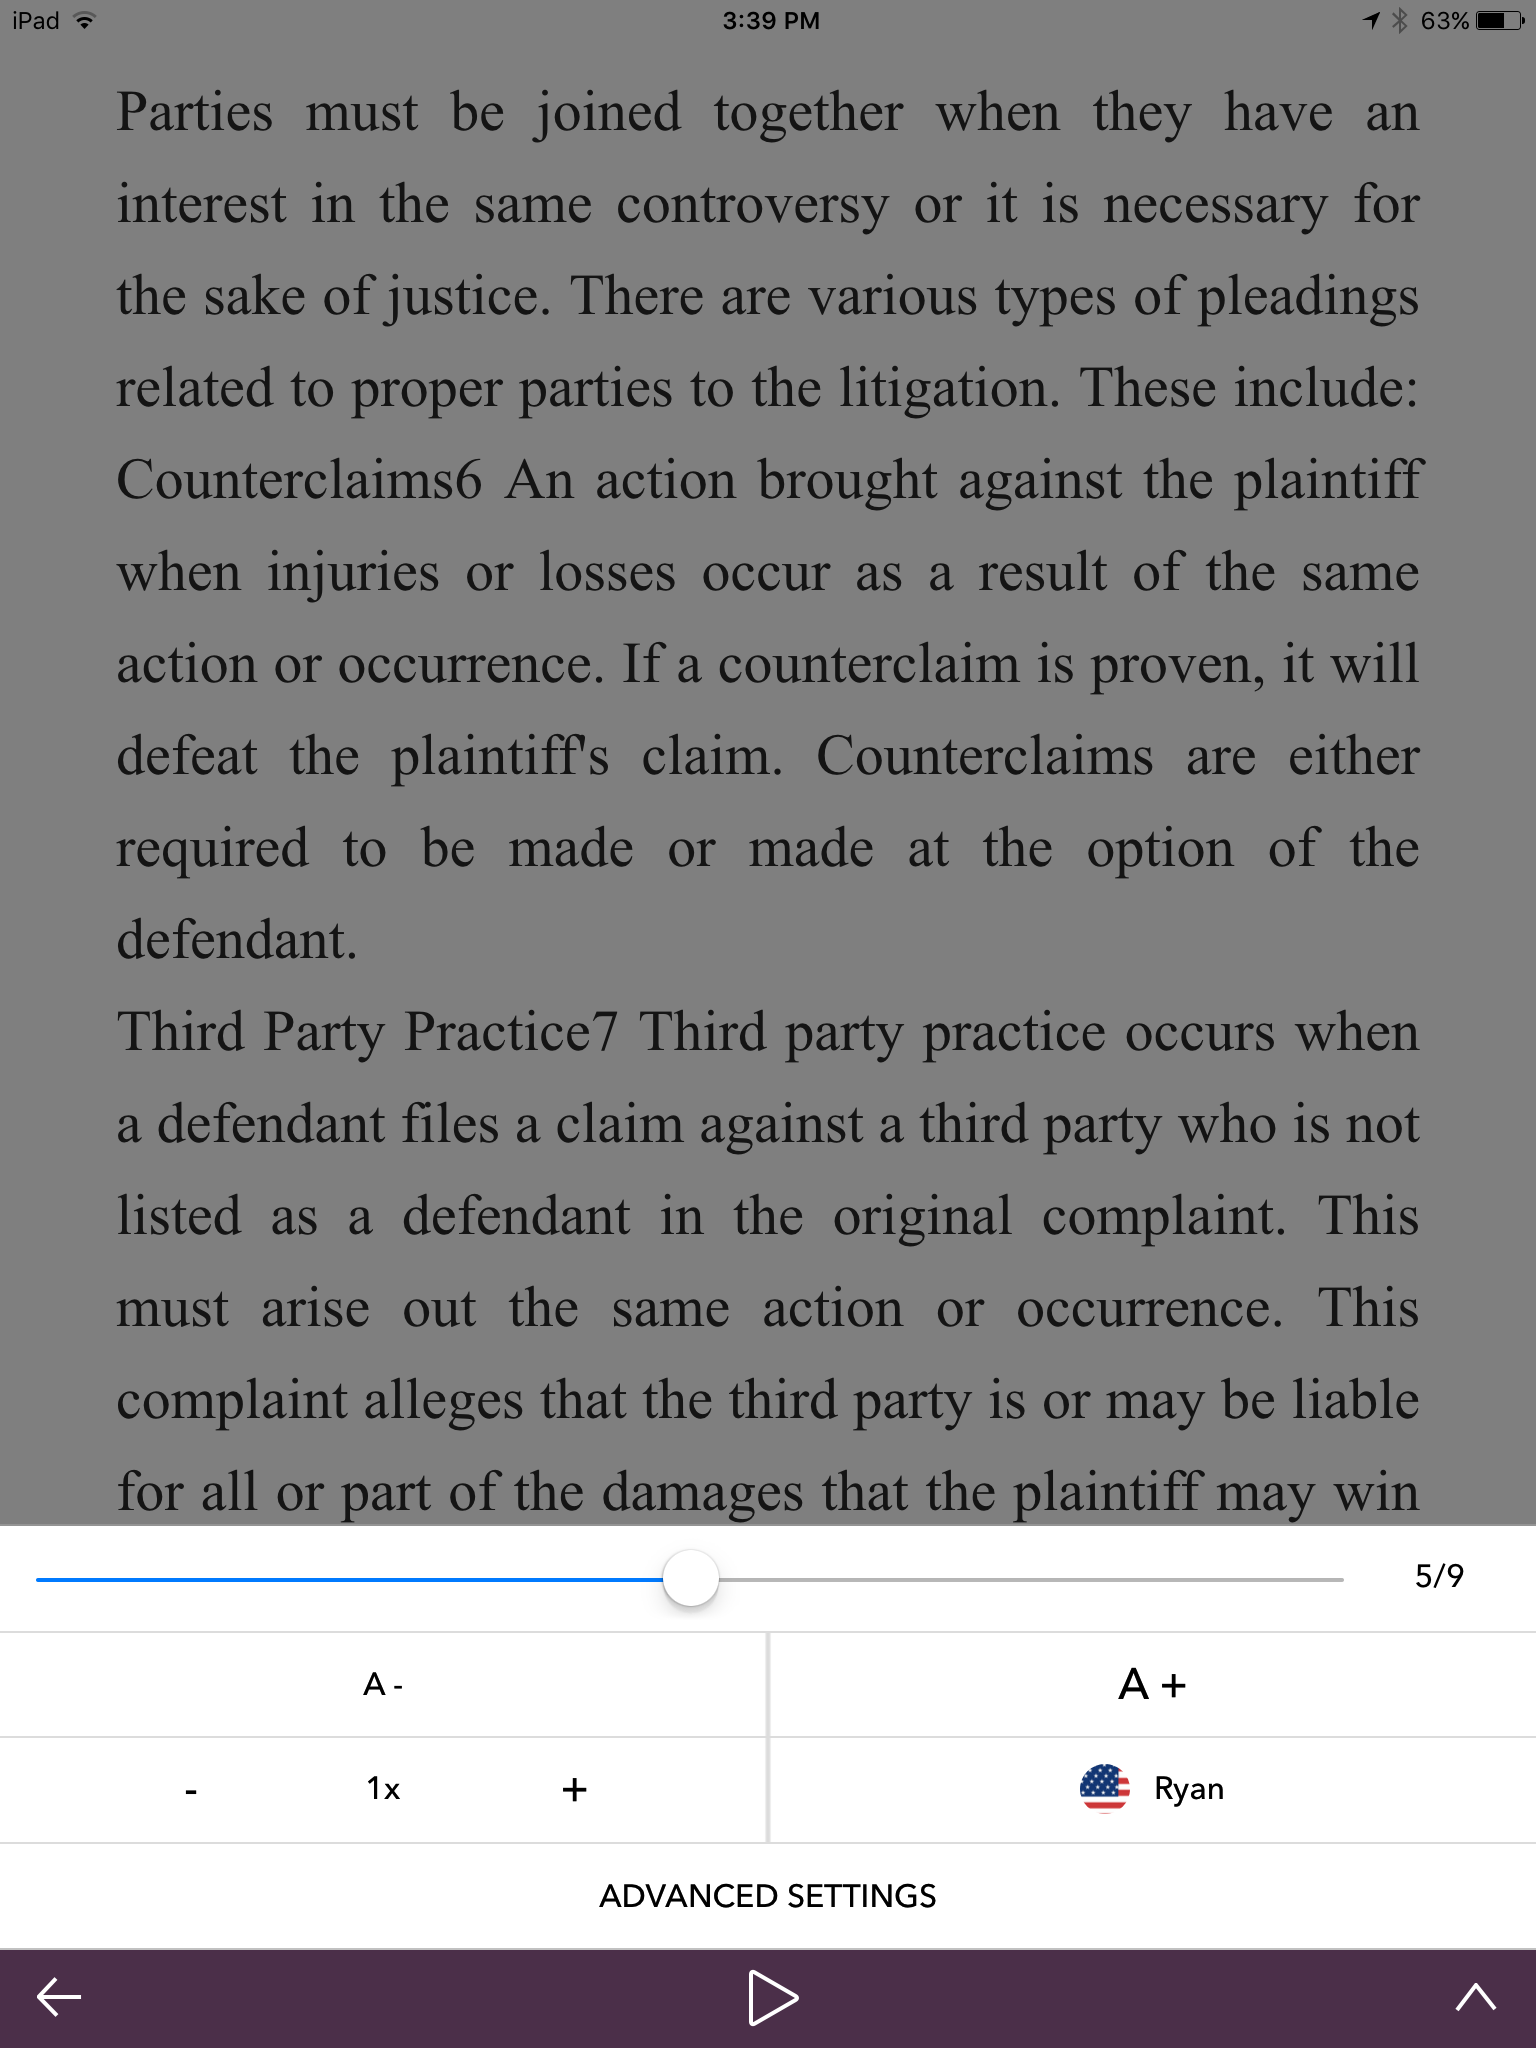
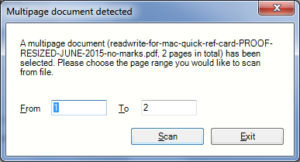
First, it’s not easy to navigate through a file to a particular spot. Voice Dream users can double tap on any word and text-to-speech immediately begins at that tap. With NaturalReader, one either taps the play button and listens to the file from the beginning or one taps the arrow at the bottom right of the screen to bring up a menu to scroll to a place in the document. It’s not always easy to find the exact spot, though. The image below demonstrates how I’ve moved the switch horizontally to navigate to page 5 out of 9.
Second, Voice Dream syncs with more cloud services. Besides Dropbox and OneDrive, users may sync their Google Drive, iCloud, Bookshare, Evernote, Box, Pocket, and Instapaper accounts. This makes it easier to open files in Voice Dream than in NaturalReader.
Finally, Voice Dream is more rich with features for customized reading and note taking. I’ll be writing another review of Voice Dream Reader in the near future that spends more time on these features and the improvements made on the app since my first review.
The Takeaway
NaturalReader for PC is an excellent choice for those looking for a free text-to-speech app for windows. NaturalReader for iOS is worth trying out and keeping an eye on, but it’s not at the level of Voice Dream Reader, which is available at the same price.
Please let us know your own experiences with NaturalReader and other text-to-speech apps.
 Broadly speaking, there are two types of apps:
 A student recently introduced me to a text-to-speech app that he’s been using on his Android phone.
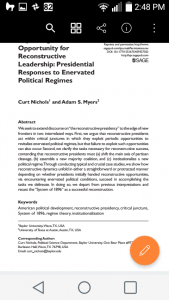
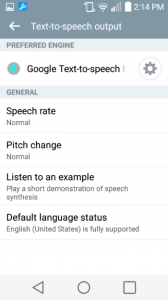
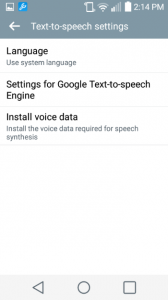
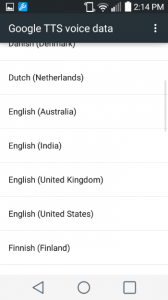
 Choosing a new voice will take up memory on your phone, but you may find it worth it.
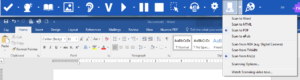
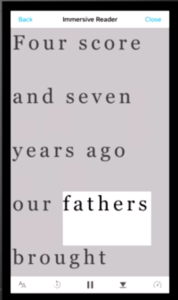
 Updated May 1, 2020 with new Immersive Reader feature.